用 Python 和 Conu 測試容器
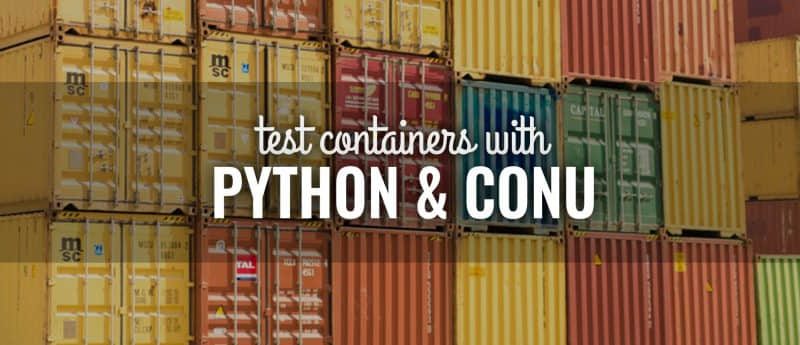
越來越多的開發人員使用容器開發和部署他們的應用。這意味著可以輕鬆地測試容器也變得很重要。Conu (container utilities 的簡寫) 是一個 Python 庫,讓你編寫容器測試變得簡單。本文向你介紹如何使用它測試容器。
開始吧
首先,你需要一個容器程序來測試。為此,以下命令創建一個包含一個容器的 Dockerfile 和一個被容器伺服的 Flask 應用程序的文件夾。
$ mkdir container_test
$ cd container_test
$ touch Dockerfile
$ touch app.py
將以下代碼複製到 app.py 文件中。這是慣常的基本 Flask 應用,它返回字元串 「Hello Container World!」。
from flask import Flask
app = Flask(__name__)

@app.route('/')
def hello_world():
    return 'Hello Container World!'

if __name__ == '__main__':
    app.run(debug=True,host='0.0.0.0')
創建和構建測試容器
為了構建測試容器,將以下指令添加到 Dockerfile。
FROM registry.fedoraproject.org/fedora-minimal:latest
RUN microdnf -y install python3-flask && microdnf clean all
ADD ./app.py /srv
CMD ["python3", "/srv/app.py"]
然後使用 Docker CLI 工具構建容器。
$ sudo dnf -y install docker
$ sudo systemctl start docker
$ sudo docker build . -t flaskapp_container
提示:只有在系統上未安裝 Docker 時才需要前兩個命令。
構建之後使用以下命令運行容器。
$ sudo docker run -p 5000:5000 --rm flaskapp_container
* Running on http://0.0.0.0:5000/ (Press CTRL+C to quit)
* Restarting with stat
* Debugger is active!
* Debugger PIN: 473-505-51
最後,使用 curl 檢查 Flask 應用程序是否在容器內正確運行:
$ curl http://127.0.0.1:5000
Hello Container World!
現在,flaskapp_container 正在運行並準備好進行測試,你可以使用 Ctrl+C 將其停止。
創建測試腳本
在編寫測試腳本之前,必須安裝 conu。在先前創建的 container_test 目錄中,運行以下命令。
$ python3 -m venv .venv
$ source .venv/bin/activate
(.venv)$ pip install --upgrade pip
(.venv)$ pip install conu
$ touch test_container.py
然後將以下腳本複製並保存在 test_container.py 文件中。
import conu

PORT = 5000

with conu.DockerBackend() as backend:
  image = backend.ImageClass("flaskapp_container")
  options = ["-p", "5000:5000"]
  container = image.run_via_binary(additional_opts=options)

  try:
    # Check that the container is running and wait for the flask application to start.
    assert container.is_running()
    container.wait_for_port(PORT)

    # Run a GET request on / port 5000.
    http_response = container.http_request(path="/", port=PORT)

    # Check the response status code is 200
    assert http_response.ok

    # Get the response content
    response_content = http_response.content.decode("utf-8")

    # Check that the "Hello Container World!" string is served.
    assert "Hello Container World!" in response_content

    # Get the logs from the container
    logs = [line for line in container.logs()]
    # Check the the Flask application saw the GET request.
    assert b'"GET / HTTP/1.1" 200 -' in logs[-1]

  finally:
    container.stop()
    container.delete()
測試設置
這個腳本首先設置 conu 使用 Docker 作為後端來運行容器。然後它設置容器鏡像以使用你在本教程第一部分中構建的 flaskapp_container。
下一步是配置運行容器所需的選項。在此示例中,Flask 應用在埠5000上提供內容。於是你需要暴露此埠並將其映射到主機上的同一埠。
最後,用這個腳本啟動容器,現在可以測試了。
測試方法
在測試容器之前,檢查容器是否正在運行並準備就緒。示範腳本使用 container.is_running 和 container.wait_for_port。這些方法可確保容器正在運行,並且服務在預設埠上可用。
container.http_request 是 request 庫的包裝器,可以方便地在測試期間發送 HTTP 請求。這個方法返回requests.Responseobject,因此可以輕鬆地訪問響應的內容以進行測試。
conu 還可以訪問容器日誌。又一次,這在測試期間非常有用。在上面的示例中,container.logs 方法返回容器日誌。你可以使用它們斷言列印了特定日誌,或者,例如在測試期間沒有異常被引發。
conu 提供了許多與容器接合的有用方法。文檔中提供了完整的 API 列表。你還可以參考 GitHub 上提供的示例。
運行本教程所需的所有代碼和文件也可以在 GitHub 上獲得。 對於想要進一步採用這個例子的讀者,你可以看看使用 pytest 來運行測試並構建一個容器測試套件。
via: https://fedoramagazine.org/test-containers-python-conu/
作者:Clément Verna 選題:lujun9972 譯者:GraveAccent 校對:wxy
本文轉載來自 Linux 中國: https://github.com/Linux-CN/archive
對這篇文章感覺如何?
You may also like


More in:Linux中國

捐贈 Let's Encrypt,共建安全的互聯網
Let's Encrypt 正式發布,已經保護 380 萬個域名

關於Linux防火牆iptables的面試問答
Lets Encrypt 已被所有主流瀏覽器所信任