在CentOS/RHEL/Scientific Linux 6下安裝 LAMP
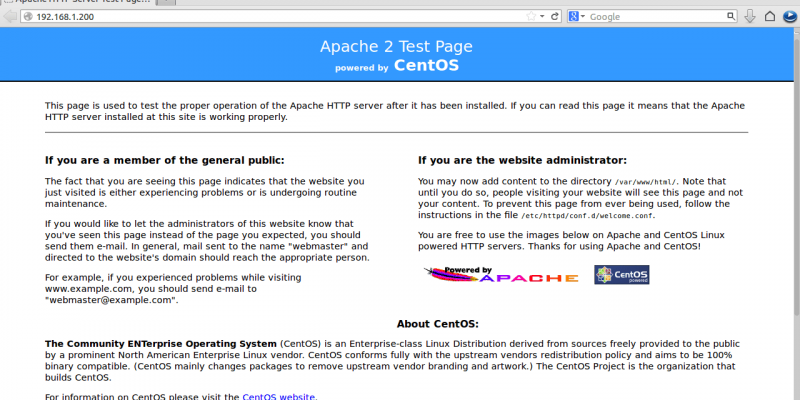
點擊查看原始大圖](https://img.linux.net.cn/data/attachment/album/201307/01/000741vj5w5u6lvmvz2m53.png)
安裝 MariaDB
MariaDB 是一個替換 MySQL 的產品。功能強大而可靠。安裝前,如果您的伺服器中安裝有 MySQL ,那麼您需要刪除它。刪除命令:
[root@server ~]# yum remove mysql* mysql-server mysql-devel mysql-libs
為了讓 MariaDB 同時兼容 MySQL,我們需要安裝 REMI 庫來解決兼容性和安裝 MariaDB 時軟體包依賴性問題。安裝命令:
[root@server ~]# rpm -ivh http://rpms.famillecollet.com/enterprise/remi-release-6.rpm
安裝兼容 mysql55 包命令:
[root@server ~]# yum --enablerepo=remi-test --disablerepo=remi install compat-mysql55
為 MariaDB 創建一個 repository 文件,並在其中輸入如下代碼:
32 位系統:
[root@server ~]# vi /etc/yum.repos.d/mariadb.repo
MariaDB 5.5 CentOS repository list - created 2013-06-06 07:42 UTC
http://mariadb.org/mariadb/repositories/
[mariadb]
name = MariaDB
baseurl = http://yum.mariadb.org/5.5/centos6-x86
gpgkey=https://yum.mariadb.org/RPM-GPG-KEY-MariaDB
gpgcheck=1
64 位系統:
[root@server ~]# vi /etc/yum.repos.d/mariadb.repo
MariaDB 5.5 CentOS repository list - created 2013-06-06 07:53 UTC
http://mariadb.org/mariadb/repositories/
[mariadb]
name = MariaDB
baseurl = http://yum.mariadb.org/5.5/centos6-amd64
gpgkey=https://yum.mariadb.org/RPM-GPG-KEY-MariaDB
gpgcheck=1
保存並退出該文件,並運行 yum update 命令:
[root@server ~]# yum update
現在開始安裝 MariaDB :
[root@server ~]# yum install MariaDB-devel MariaDB-client MariaDB-server -y
安裝完畢後,啟動 MariaDB 服務,並讓它在每次重啟伺服器後自動啟動。
[root@server ~]# /etc/init.d/mysql start
Starting MySQL... SUCCESS!
[root@server ~]# chkconfig mysql on
為 MySQL 的 root 設置密碼,默認情況下,MySWL root 密碼是空的。為了防止未經授權的用戶訪問 MySQL 我們需要設置 root 用戶密碼:
[root@server ~]# /usr/bin/mysql_secure_installation
/usr/bin/mysql_secure_installation: line 379: find_mysql_client: command not foundNOTE: RUNNING ALL PARTS OF THIS SCRIPT IS RECOMMENDED FOR ALL MariaDB
SERVERS IN PRODUCTION USE! PLEASE READ EACH STEP CAREFULLY!In order to log into MariaDB to secure it, we'll need the current
password for the root user. If you've just installed MariaDB, and
you haven't set the root password yet, the password will be blank,
so you should just press enter here.Enter current password for root (enter for none):
OK, successfully used password, moving on...Setting the root password ensures that nobody can log into the MariaDB
root user without the proper authorisation.You already have a root password set, so you can safely answer 'n'.
Change the root password? [Y/n] y
New password:
Re-enter new password:
Password updated successfully!
Reloading privilege tables..
... Success!By default, a MariaDB installation has an anonymous user, allowing anyone
to log into MariaDB without having to have a user account created for
them. This is intended only for testing, and to make the installation
go a bit smoother. You should remove them before moving into a
production environment.Remove anonymous users? [Y/n]
... Success!Normally, root should only be allowed to connect from 'localhost'. This
ensures that someone cannot guess at the root password from the network.Disallow root login remotely? [Y/n]
... Success!By default, MariaDB comes with a database named 'test' that anyone can
access. This is also intended only for testing, and should be removed
before moving into a production environment.Remove test database and access to it? [Y/n]
- Dropping test database...
ERROR 1008 (HY000) at line 1: Can't drop database 'test'; database doesn't exist
... Failed! Not critical, keep moving...- Removing privileges on test database...
... Success!Reloading the privilege tables will ensure that all changes made so far
will take effect immediately.Reload privilege tables now? [Y/n]
... Success!Cleaning up...
All done! If you've completed all of the above steps, your MariaDB
installation should now be secure.Thanks for using MariaDB!
安裝 PHP
PHP(PHP 是:Hypertext Preprocessor 的縮寫)是一種廣泛使用的開放源碼的通用腳本語言,適合於 Web 開發,可嵌入到 HTML 中。
安裝 PHP 命令:
[root@server ~]# yum install php -y
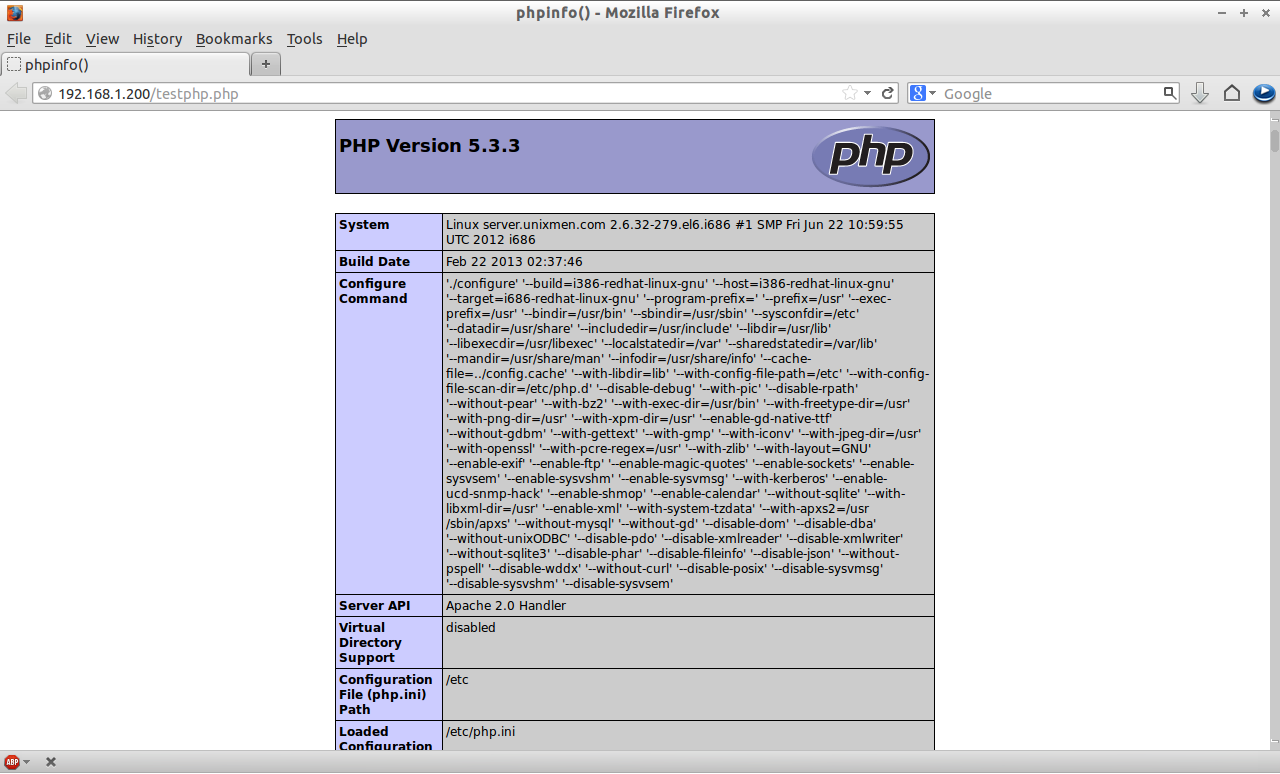
創建一個的 「testphp.php」 的文件在 Apache 的文檔根目錄文件夾,在其中如入如下代碼。命令:
[root@server ~]# vi /var/www/html/testphp.php
phpinfo();
?>
重新啟動 httpd 服務:
[root@server ~]# /etc/init.d/httpd restart
用瀏覽器打開 http://server-ip-address/testphp.php 。它會顯示關於 PHP 的詳細信息,比如版本,建立日期等。
如果您需要安裝所有的 PHP 模塊,可以輸入 *yum install php -y** 來安裝,安裝完畢後重啟 httpd 服務。重啟服務後,您可以用瀏覽器打開 http://server-ip-address/testphp.php 來查看您剛才安裝的模塊情況。
安裝 nstall phpMyAdmi
根據您的情況來選擇是否安裝 nstall phpMyAdmin 。
phpMyAdmin 是一個免費開源的 MySQL 管理工具。默認情況下 CentOS/RHEL/Scientific Linux 官方庫中沒有 phpMyAdmin。所以我們需要從 EPEL 庫中安裝。
首先,我們需要添加 EPEL 庫:
[root@server ~]# rpm -ivh http://dl.fedoraproject.org/pub/epel/6/i386/epel-release-6-8.noarch.rpm
現在我們可以安裝 phpMyAdmin 了。安裝命令:
[root@server ~]# yum install phpmyadmin -y
安裝完畢後,我們需要配置的 phpMyAdmin。打開 phpmyadmin.conf 的文件。查找以「<Directory」 開頭到 包含的部分,如下命令所示:
[root@server ~]# vi /etc/httpd/conf.d/phpMyAdmin.conf
Alias /phpMyAdmin /usr/share/phpMyAdmin
Alias /phpmyadmin /usr/share/phpMyAdminComment the following Section
Apache 2.4
Require ip 127.0.0.1
Require ip ::1
Apache 2.2
Order Deny,Allow
Deny from All
Allow from 127.0.0.1
Allow from ::1
#
打開 config.inc.php 文件,將 cookie 改為 http。
[root@server ~]# cp /usr/share/phpMyAdmin/config.sample.inc.php /usr/share/phpMyAdmin/config.inc.php
[root@server ~]# vi /usr/share/phpMyAdmin/config.inc.php
[...]
/ Authentication type /
$cfg['Servers'][$i]['auth_type'] = 'http';
[...]
重新啟動 Apache 服務:
[root@server ~]# /etc/init.d/httpd restart
現在,您可以訪問 phpmyadmin 控制太來管理 MySQL 了。打開一個瀏覽器,訪問:http://server-ip-address/phpmyadmin/ 。需要輸入您的 MySQL 用戶名和密碼,如果您按前面的步驟設置了密碼的話。我設置的是 「root」 和 「centOS」。
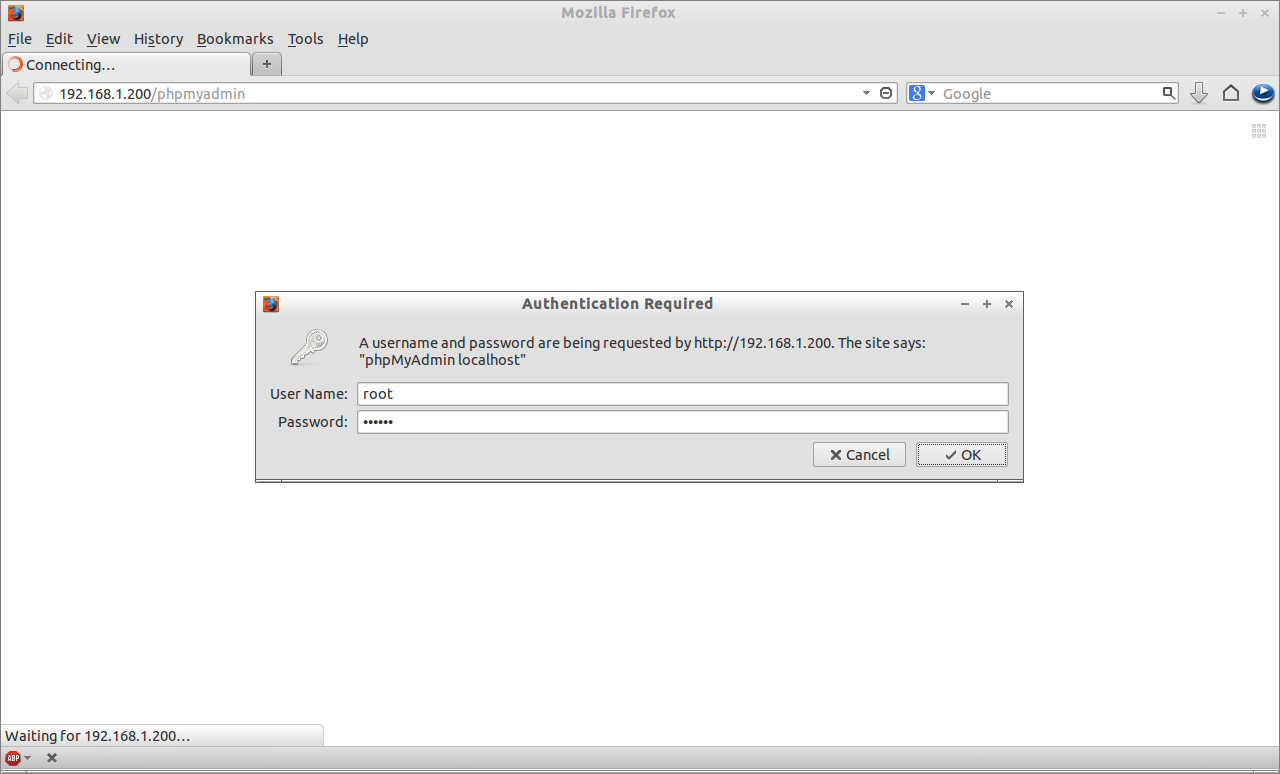
您將被重定向到 phpMyAdmin 的 Web 主界面:
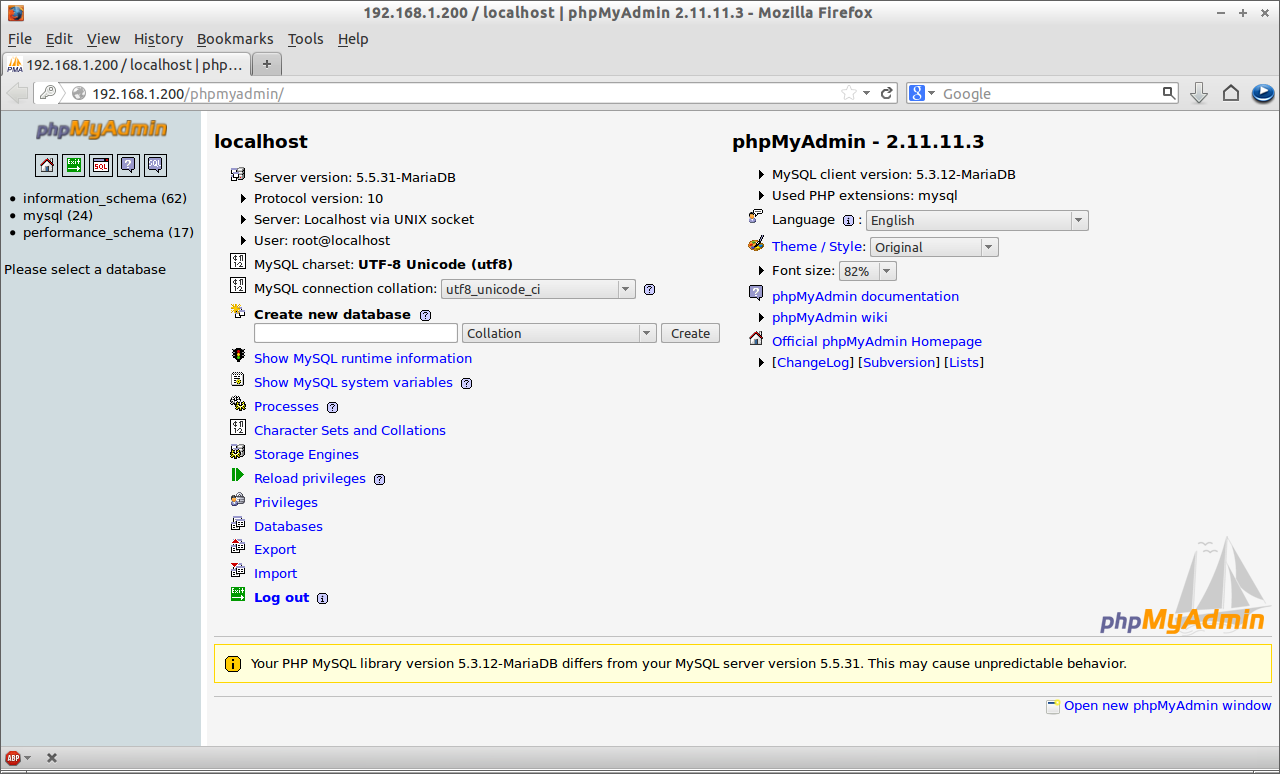
現在,您能夠通過 phpMyAdmin 管理您的 MariaDB 資料庫了。
本文轉載來自 Linux 中國: https://github.com/Linux-CN/archive
對這篇文章感覺如何?
You may also like


More in:Linux中國
捐贈 Let's Encrypt,共建安全的互聯網
Let's Encrypt 正式發布,已經保護 380 萬個域名

關於Linux防火牆iptables的面試問答
Lets Encrypt 已被所有主流瀏覽器所信任